Register Now

Quickstart Guide

Get trading across multiple accounts in minutes. This guide walks you through setup, execution, and position management.

1 Setup Your Accounts

Connect your Tradovate, Rithmic, or WealthCharts accounts and configure risk settings before you start trading.

1.1 Navigate to Accounts

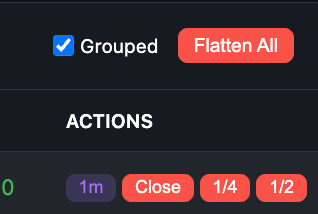
Click the Accounts tab in the navigation bar to view and manage your connected trading accounts.

Accounts tab in navigation

1.2 Configure Account Settings

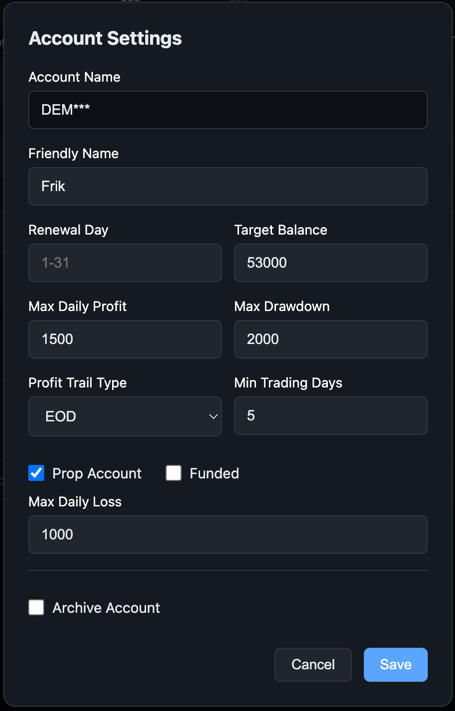
Click Edit on any account to configure its settings. Set your friendly name, target balance, and prop firm rules like max daily profit/loss and drawdown limits.

Tip: Enable "Prop Account" for accounts with prop firm rules. The system will automatically enforce daily limits and trailing drawdown.

Account settings dialog

1.3 Set Up Risk Profiles

Go to Profiles tab and create risk profiles to control your trading. Set max contracts, stop loss limits, cooldown periods after trades/losses, and session restrictions.

Tip: Use "Market Moving News Blackout" to automatically block trading before major economic releases.

Risk profile editor

2 Execute Trades

Trade across multiple accounts simultaneously with market or limit orders.

2.1 Select Your Accounts

In the Trade panel, click account badges to select which accounts to trade. Selected accounts appear highlighted. You can trade one account or many simultaneously, and manage all positions as a single group.

Account selection in trade panel
Multiple accounts selected - showing 3 accounts selected for simultaneous trading

2.2 Set Default Stop Loss & Take Profit

Click Select SL/TP to set your default stop loss and take profit distances in points. These apply automatically to every trade you place.

Note: ES/MES and NQ/MNQ share the same SL/TP settings since they move in lockstep.

SL/TP defaults dialog

2.3 Choose Quantity and Order Type

Set your contract quantity with Qty. Use Market for instant fills, or Limit with a tick offset for better entries (though you may not get filled if price moves away).

Tip: Set Offset to 1-2 ticks for limit orders to get slightly better fills on pullbacks.

Quantity and order type selection

2.4 Verify Connected Accounts

The account list shows all connected accounts with their balance, risk profile, and trading status. Make sure Trade is checked for accounts you want to trade.

Connected accounts list

Alternative: Stop & Limit Orders at Key Levels

Instead of quick market/limit orders, you can place stop or limit orders at specific technical levels. Click any level button (VWAP, PM Lo, AZ2, etc.) to select a price, then choose your order type.

This is useful for entering at support/resistance levels or trading breakouts without watching the screen.

Stop and limit orders at technical levels

3 Manage Open Positions

Monitor, adjust, and close positions across all accounts from a single view.

3.1 View Grouped Trades

The Open Trades panel shows all positions. Enable Grouped to see trades from the same signal consolidated together, making it easy to manage positions across 10+ accounts at once.

Grouped open trades view

3.2 Quick Actions

Use the action buttons on each trade row: Close to flatten the position, 1/4 or 1/2 to take partial profits. Flatten All closes every open position instantly.

Trade action buttons

3.3 Move Stops to Key Levels

Click the stop loss value to open the editor. Enter a dollar offset from entry, a specific price level, or click a Quick Level button to snap your stop to a technical level like AZ5, pLo, or BBL.

Edit stop loss dialog

Ready to Start?

Register now to get early access to TradingPlace.

Register Now